All DS drills can seed and grow an excellent crop and improve soil health. Farming too efficiently use the moisture we are provided, and the pace too improving soil health is the difference I see between high and low disturbance drill designs.
High disturbance drills (the term I use for all hoe, double disc, and some single disc openers) all share a similar problem, --they move or disrupt too much soil which exposes the soil surface. As a result they break infiltration channels, they accelerate decomposition of cover, they plant unwanted seed, and they damage the soil food web if any is present. There are places in our field where even the CrossSlot fits into the high disturbance category, --on steep slopes where side pressure causes a wider slot, and where we turn.
I distinguish between DS drills by the amount of soil surface they disturb. They range from disrupting nearly the entire surface down to a narrow slot of <1.5 inches. I would say that most hoe drills fall in the high disturbance category, and most single disc drills would fall in the low disturbance category and the CrossSlot in the ultra-low disturbance category. Others may have their own scale. By the numbers:
High disturbance drills: Their configuration disrupts a large percentage (>70%) of the soil surface and most or all of the surface residue.
Low disturbance drills: Their configuration disrupts (<30%) of the soil surface and about 60% of the residue.
Ultra-low disturbance drills: Their configuration disrupts (<15%) of the soil surface and maybe 40% of the residue.
Whether the numbers accurately describe the drill type performance is not the point here. What is important is that they represent the concept that the more soil and residue that is disturbed, the more moisture you lose from evaporation, the less moisture your field can absorb from later rains because of disrupted channels, the more biological communities in the soil you disrupt which effects plant food production, and the more unwanted seed that will be planted grow and compete with the crop.
To maximize moisture retention and absorption, you will want to minimize disturbance of the soil surface, grow and maintain the maximum amount of residue possible, and leave it as tall as possible in the absence of a growing crop. (see other posts for the reasoning behind this statement). It's my belief as well that this statement is valid for all rainfall regions whether 7" or 70".
Showing posts with label DS Equipment. Show all posts
Showing posts with label DS Equipment. Show all posts
Wednesday, June 28, 2017

Monday, June 13, 2016
Stripper Header - Drill Demonstration

Where we strive for maximum moisture retention through low disturbance and residue, my bias of course, favors the CrossSlot, so, expectedly, it did the best, --at holding depth, consistent seeding without plugs or drags, and features a one pass system to maintain the ULD status that we strive for in our operation.
The JD didn't hold depth in the mowed area which was the hardest for both it and the CS. Too much variation in seeding conditions for spring loaded down pressure systems. Also, the JD moves more dirt than the CS, and being set up as a two pass system, there is additional soil disturbance.
All of the hoe type drill entries, were able to make it through the course, with more or less plugging and dragging. Neither mowed nor standing stubble, with all the wheel tracks, was ideal for a hoe drill. Even 30" stubble, when laid crossways to the line of travel spans across multiple opener widths. Much of the time, coulters will cut through the mat in front of the hoe --but not all the time. When a hoe passes among standing stalks, they tip and can become an obstacle to the next line of openers.
Although I didn't watch any of the fertilizer applicators navigate the course, I could see from all the straw hanging, that the Great Plains NP40 struggled. I didn't notice how the Fast 8200 faired, but my guess is that it was much the same. With this type of application, where solution is directed towards a slot through a surface air gap, I have to wonder how much loss of N takes place. The JD 1890 fertilizer unit, like the drill version, probably suffered from depth control.
Sorry to say, I was distracted, and completely neglected to make a presentation about the stripper header and it's value to our operation, and the moisture it helps save. I'll write two more posts that relate to: -- 1) the long and short of the stripper header, and 2) moisture saved with the stripper header in the near future. I have yet to analysis the HOBO data gathered since September on soil temperatures under different residue scenarios .
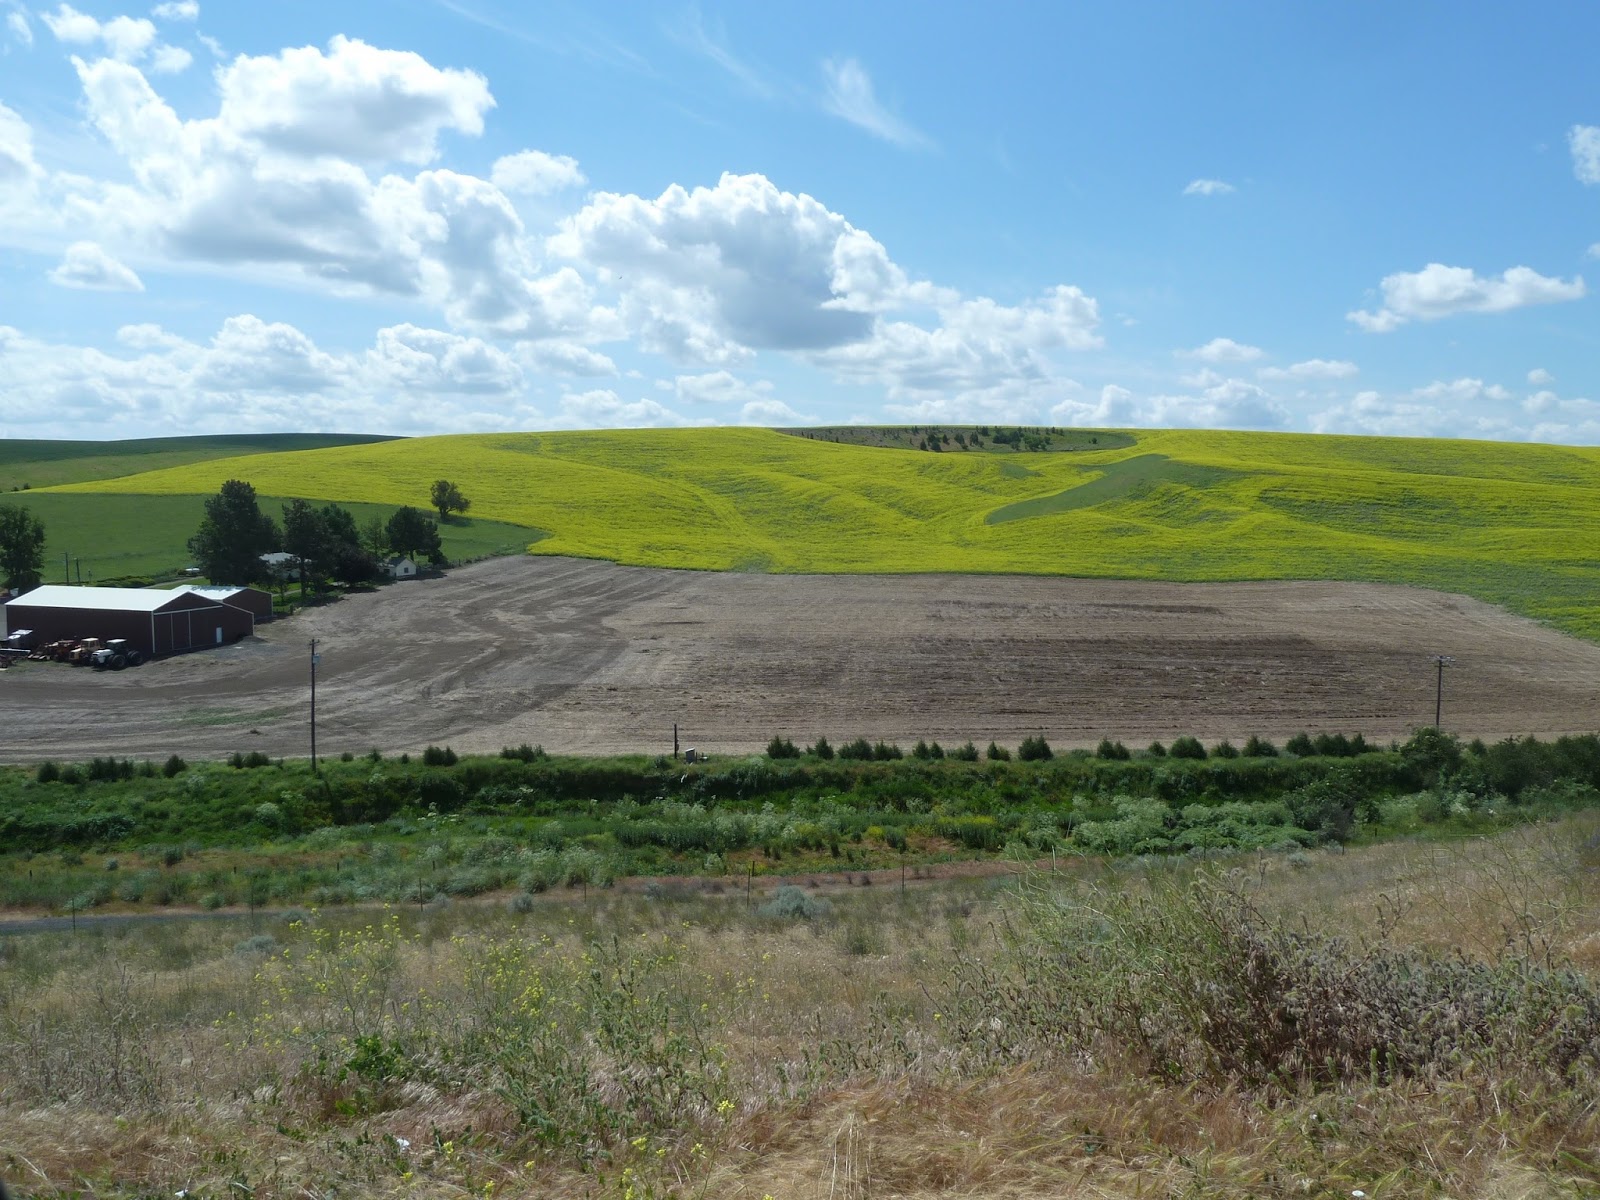
All done, and equipment gone. The site was completely used, but didn't need to go into the mustard. We'll follow the site for awhile, then destroy it before weeds become a problem.
Saturday, May 3, 2014
NEW CROSS-SLOT DRILL
[10/4/15 UPDATE]: When we finished our spring seeding season, we noticed that damp soil was being drawn into the bottom of the blade forcing seed to exit high in the slot, putting a lot on the surface. It turned out that the drill tool bars were leveled in a heel down position which worn the blades to a rounded open bottom. This allowed soil to enter. The first drilling season we established the drill level in the field under load. The original drill design had all the wheels (4) inline across the drill to minimize side pressure on the wing wheels while turning. Each tool bar on the wings have a 4"hydraulic ram applying down pressure. The design wheel arrangement provided longer leverage on the front toolbar which forced it down. By leveling the drill to that wing, we put the drill main frame in a heel down position that was not readily visible. The fix was to move the wing wheels to an equal distance between the front and rear toolbars. The downside to this "fix" is more side wall pressure being exerted on the wheels and wheel mounts. At this point in time that does not appear to be a problem. At the bottom of the post see pics showing this change.
[10/4/15 UPDATE]: Moved discussion about depth to seed peas to --update: 8/23/15 on post of 5/24/15.
[10/8/14 UPDATE]: Added a pic and narrative to the seed delivery system.
[8/21 UPDATE]: We mounted a Bourgault transmission on each OmniSeed drive. They give us plenty of reduction for the small seed at low rates. The Bourgault is an interesting design. The input shaft can be turned in either direction, or back and forth, but the output shaft only advances in one direction. There is some sort of ratchet mechanism involved, and you can see that action at low output rpm. With the Omni hydraulic motor range of 0-150 rpm (0-1.5 gpm), the chosen sprocket ratio of 12/40 between transmission and seed roll, and the Bourgault transmission settings that range from 5-100%, we get a seed roll rpm that varies from a high of 45 revolutions per minute to a low of 6 minutes per revolution. Because the Omni motors become erratic near 1rpm do to low oil flow and pressure, we have arbitrarily chosen to not operate the motors below 30rpm. It appears that at 30rpm the motors provide sufficient torque for smooth operation under varying loads applied to the rolls. If we need to go slower we may be able to go down to 20rpm (???).
5/20/14 UPDATE: We are very pleased with the drill. It is heavier than I desired though, tipping the scale at ≈24,000 pounds without commodity. It placed the seed properly in the varied conditions presented to us this spring, whether heavy or no residue existed. Changes, settings, adjustments and repairs were accomplished with relative ease do to the designed access of the major components. Fertilizer over-run was quite good at ≈5%. Seed over-run was ≈ 15%. The drill design included fertilizer being divided into three sections across the width of the drill. The seed is full width. The scale mounted to the seed box made for easy calibration of seed rate. Not all is perfect though. The scrapers designed for the unit tend to promote opener plugs causing drags. Removing the scrapers can lead to seed being brought back to the surface with soil sticking to the disc. We had little or no issue west of St. John; however, at Thornton, in the heavier soils, in places we left some on the surface. What to do????
--The Original Post--
From here:

To here:


Design Features:
[10/4/15 UPDATE]: Moved discussion about depth to seed peas to --update: 8/23/15 on post of 5/24/15.
[10/8/14 UPDATE]: Added a pic and narrative to the seed delivery system.
[8/21 UPDATE]: We mounted a Bourgault transmission on each OmniSeed drive. They give us plenty of reduction for the small seed at low rates. The Bourgault is an interesting design. The input shaft can be turned in either direction, or back and forth, but the output shaft only advances in one direction. There is some sort of ratchet mechanism involved, and you can see that action at low output rpm. With the Omni hydraulic motor range of 0-150 rpm (0-1.5 gpm), the chosen sprocket ratio of 12/40 between transmission and seed roll, and the Bourgault transmission settings that range from 5-100%, we get a seed roll rpm that varies from a high of 45 revolutions per minute to a low of 6 minutes per revolution. Because the Omni motors become erratic near 1rpm do to low oil flow and pressure, we have arbitrarily chosen to not operate the motors below 30rpm. It appears that at 30rpm the motors provide sufficient torque for smooth operation under varying loads applied to the rolls. If we need to go slower we may be able to go down to 20rpm (???).
5/20/14 UPDATE: We are very pleased with the drill. It is heavier than I desired though, tipping the scale at ≈24,000 pounds without commodity. It placed the seed properly in the varied conditions presented to us this spring, whether heavy or no residue existed. Changes, settings, adjustments and repairs were accomplished with relative ease do to the designed access of the major components. Fertilizer over-run was quite good at ≈5%. Seed over-run was ≈ 15%. The drill design included fertilizer being divided into three sections across the width of the drill. The seed is full width. The scale mounted to the seed box made for easy calibration of seed rate. Not all is perfect though. The scrapers designed for the unit tend to promote opener plugs causing drags. Removing the scrapers can lead to seed being brought back to the surface with soil sticking to the disc. We had little or no issue west of St. John; however, at Thornton, in the heavier soils, in places we left some on the surface. What to do????
--The Original Post--
From here:
To here:
It has taken four months, but our new drill is finally in the field. The basic drill frame design went relatively quick and smooth. The fitting and finishing took a long time. We cut, drilled, ground, welded, painted, and plumbed and replumbed three days into our seeding. We will continue to make changes probably for most of the year. The pivots for the openers are left for later installation and also an ultra low seed metering device. The metering device is for winter canola, and other crops with small seed and low planting rates. The pivots will probably be another winters project.
Design Features:
Basic design size was calculated to fit our tractor which weighs around 39k and has 400hp. After much indecision over 8,10 or 12 inch spacing, we finally decided on 10" centers for the opener spacing on the basic cross-slot concept of a low frame, with two tool bars. We have 28 openers for a total width of 23.3'. The drill folds to a transport width of fourteen feet. The commodity pak is designed to drill out ≈25acres per fill of wheat or barley. The N tank will be the limiting factor in most cropping scenarios. We fill every hopper every stop. We use frame weight for opener penetration and not commodity weight.
The drill has the capability of:
---the openers came to us set up for applying dry fertilizer which is a different blade than one used for liquid. We run two different lengths of blades allowing us to place the deep band fertilizer ≈1" lower than the seed. As it turns out, we will be able to add more versatility to our seeding. Some culivars like peas and garbs do better when they are planted around 3-4 inches. By switching our seed tubes to the long blade we can reach those depths.
---two liquid fertilizer products. The main nitrogen source has a 1500g capacity. The second solution tank that will apply nutrients with the seed has a capacity of 400g. The solution tank has one manifold that is orficed for 7-10gpa and will carry the starter nutrient package. The main tank has two manifolds, each with a different orifice size to provide a wide range of application. They work in combination, and the design range is 30-100gpa without physically changing orfices. The rate is controled through the Viper 4 console. The drill is divided across into three sections (left, middle, right), and controlled (on/off) by the Viper to minimize over run of the fertilizer.
---the low profile, two rank toolbar on a narrow longitudinal frame member width (1.5") allows for easy access to service the openers and an even spacing of the openers (most direct seed drills have frame members that interfere with the preferred row spacing, so end up with uneven spacing). It took a lot of time in a trial and error process, but the design also allowed us to manage all of the hoses and tubing so that it looks clean and neat and accessible. A difficult task with 500 feet of seed (air)hose, 2200 feet of quarter inch tubing, and several hundred feet of hydraulic hoses. The seed tubes are hung on spring tensioned chains so that they don't have loops or sags that encourage seed blockage. The negative aspect to this design is the wide toolbar spacing from front to rear. To avoid compromising some of the features designed into the opener, the drill needs to be run on an AB line. Contouring our hills will leave the seed slot open in places. My hope is that when we get the pivots on the openers we can contour the hills without compromising the opener technology. To mitigate the problem associated with the openers being able to pivot, we have included a swinging hitch to shift the pull point of the drill. We have used this concept successfully on a cultivator many years ago and hope the principle will work similar with the drill. Currently, the Viper 4 is not capable of holding the line in auto steer with a swinging hitch, so use of this feature will require steering manually. (In 2015, we understand the Viper will compensate for a swinging hitch.)
---the drill design includes cylinders mounted on the hitch to tilt the frame fore and aft to change the angle that the wing on the opener blade enters the ground. The wing is normally set with the leading edge at 5 degrees down with the frame parallel to the ground, but it can be run with an angle of 1 degree. This feature doesn't have much meaning for us in the Palouse Hills. The wing angle changes frequently as we drill through dips and valleys associated with our topography. There is one intriguing thought that flits through my mind ----could Raven's Auto Boom be employed to hold the tool bars parallel with the ground?
---the commodity pak (white) is a unit to itself, and can be removed from the main frame. These tanks will likely be replaced in a few years. Each tank has it's separate frame that can be modified for a new unit.
---the main frame axle was designed for some height adjustment. The frame can to lowered a half inch or raised a couple of inches to accommodate minor adjustment for preferred opener height. The spindle capacity is 20k each and the low profile floatation tire has a capacity of around 20k at field speed. This will turn out to be marginal as our weight could get to 50k for fall seeding. We are not expecting any problems. As, with our old drill, we will move the drill with the wings down and under pressure to transfer weight off the main frame axle/tires. The advantage we gained by this low profile tire was the ability to position our air delivery tubes to minimize blockage. I've spent a lot of time fighting that problem with our old drill.
---these drills are heavy. The openers are designed for approximately 1100 pounds each. Disc's, unlike hoes, take a lot of weight to force them into hard ground. The result is that for spring planting they can compact wet soil. We have designed this drill frame to be "relatively" light (≈18k, oops, it came out at 24K) for spring work and then weight it up to about 28k for fall work by adding 7x7 box tubing into the 8x8 frame tubes. We have left all the 8x8's open to receive weight whether it is the main frame or the wings. Filling the 7x7's with concrete is by far the cheapest, but it is also the lightest. Filling and capping the 7x7's with flat iron is next cheapest and doubles the weight. Filling the 7x7's with lead again doubles the weight, but it has to be solid, not shot, for this gain, and is the most expensive. We'll probably use concrete and fill every 8x8 on the drill. Now-- add the commodity weight of approximately 20k and you have a heavy piece of equipment. For penetration purposes you need to discount commodity weight because it goes from 20k to near zero every hour or two.
---two seed products. The hopper has a 58b capacity and is fitted with a scale. The two Omni hydraulic seed drives have the capability of working together, or independently, with one or two products at two different rates, and variable across the field, which are controled by the Viper 4 console. We also can disable one drive, and drive both metering rolls through a coupler with one Omni drive. This will allow versatility for seeding cover crops or interseeding a companion crop with a cash crop. One bottom delivers to the front rank of openers, and the other bottom delivers to the back rank of openers. We did not chose to split the drill for the seed as we did for the fert. We seed full width. If only one seed product is being used at any one time, we will probably disable one drive and use a coupler to drive the two bottoms. This lessens calibration time and avoids streaking.

 ---The Bourgault transmission has infinite variability from ≈5-100%. We chose settings to approximate 5-20-50-100% using a fixed arm for quick and easy adjustment instead of the regular screw adjustment. We will probably only use the 5 or 50% settings, and use the PMW valves on the Omni motors to adjust the rate needed for the particular seed being used. We are using a 180 position encoder mounted on the end of the feed roll to give us the roll speed. A setscrew in the rolls keyway fixes the unit to the shaft. Rolls are easily removed by loosening the setscrew to slip the encoder off, then flipping the spring tension keepers holding the roll bearings in place, then lifting the rolls up and to the rear. All three sets of rolls that will be used with this machine (small seed, medium seed, large seed) have the same sprocket so there is no chain issues involved. The chain on the right side is looped around the seed roll sprocket before the roll is slid into it's run position. The chain on the left side goes under the seed roll sprocket so it rolls across the chain as it is seated into its run position. It will take less than 5 minutes to change out the two rolls. Each roll needs to be calibrated for the particular crop it will seed one time to get a "cal" number. After that, the Viper 4 and the seed hopper scale should be all that is needed for adjusting the seeding rate.


---the drill design includes cylinders mounted on the hitch to tilt the frame fore and aft to change the angle that the wing on the opener blade enters the ground. The wing is normally set with the leading edge at 5 degrees down with the frame parallel to the ground, but it can be run with an angle of 1 degree. This feature doesn't have much meaning for us in the Palouse Hills. The wing angle changes frequently as we drill through dips and valleys associated with our topography. There is one intriguing thought that flits through my mind ----could Raven's Auto Boom be employed to hold the tool bars parallel with the ground?
---the commodity pak (white) is a unit to itself, and can be removed from the main frame. These tanks will likely be replaced in a few years. Each tank has it's separate frame that can be modified for a new unit.
---the main frame axle was designed for some height adjustment. The frame can to lowered a half inch or raised a couple of inches to accommodate minor adjustment for preferred opener height. The spindle capacity is 20k each and the low profile floatation tire has a capacity of around 20k at field speed. This will turn out to be marginal as our weight could get to 50k for fall seeding. We are not expecting any problems. As, with our old drill, we will move the drill with the wings down and under pressure to transfer weight off the main frame axle/tires. The advantage we gained by this low profile tire was the ability to position our air delivery tubes to minimize blockage. I've spent a lot of time fighting that problem with our old drill.
---these drills are heavy. The openers are designed for approximately 1100 pounds each. Disc's, unlike hoes, take a lot of weight to force them into hard ground. The result is that for spring planting they can compact wet soil. We have designed this drill frame to be "relatively" light (≈18k, oops, it came out at 24K) for spring work and then weight it up to about 28k for fall work by adding 7x7 box tubing into the 8x8 frame tubes. We have left all the 8x8's open to receive weight whether it is the main frame or the wings. Filling the 7x7's with concrete is by far the cheapest, but it is also the lightest. Filling and capping the 7x7's with flat iron is next cheapest and doubles the weight. Filling the 7x7's with lead again doubles the weight, but it has to be solid, not shot, for this gain, and is the most expensive. We'll probably use concrete and fill every 8x8 on the drill. Now-- add the commodity weight of approximately 20k and you have a heavy piece of equipment. For penetration purposes you need to discount commodity weight because it goes from 20k to near zero every hour or two.
---two seed products. The hopper has a 58b capacity and is fitted with a scale. The two Omni hydraulic seed drives have the capability of working together, or independently, with one or two products at two different rates, and variable across the field, which are controled by the Viper 4 console. We also can disable one drive, and drive both metering rolls through a coupler with one Omni drive. This will allow versatility for seeding cover crops or interseeding a companion crop with a cash crop. One bottom delivers to the front rank of openers, and the other bottom delivers to the back rank of openers. We did not chose to split the drill for the seed as we did for the fert. We seed full width. If only one seed product is being used at any one time, we will probably disable one drive and use a coupler to drive the two bottoms. This lessens calibration time and avoids streaking.
---The Omni motors are advertised to give infinite variable speed from 0-150rpm, using 0-1.5gpm of oil. From a practical point they become erratic at ≈1rpm. These motors have their own PMW valve to control the oil flow. We hear that 50 is about as low as you want the PMW setting for stable operation of these motors. The max setting for these valves is 253 (giving 100% flow). With our arrangement we could seed the canola at 3#/ac with a PMW setting of 90.
----The down side to this drill, besides the size of the tractor required to pull it, is it's dependence on electronics. If the electronics don't work, this drill is junk. Seed and fertilizer delivery is not mechanically driven.


Pic's showing change in wing wheel location. Pic on the right shows wing wheel inline with main frame wheels which makes for a common pivot point. Pic on the left shows the wing wheel moved forward to center the distance between the front and rear tool bar. This allows the hydraulic cylinders to apply force approximately equal between the front and back toolbar minimizing any twisting of the wing. This wheel position causes more side pressure on the wing wheel when turning because the drill will pivot on the main frame wheel and the wing wheel will have to scoot sideways unless you are careful to pivot around the wing wheel.
Friday, April 27, 2012
Some DS Drills


This is a 2014 JD model 1890 (?), 50' (?) drill behind a 600hp Quad. The openers are heavy single disc on 7.5"(?) spacing. It places starter but no deep band fertilizer. This is part of a two pass system where an Exactrix fertilizer unit precedes seeding.

This is our new 2014 farm shop built CrossSlot type single pass drill. 28 openers on 10" spacing. This drill needs a minimum of 500hp, 50k weight to pull it without issues. See post of 5/3/14 "NEW CROSS-SLOT DRILL for more detail.

Another larger CrossSlot single pass drill built by AgPro of Lewiston, ID. 36 openers on 10" row spacing. Two types of liquid fertilizer are placed near the seed.

This is a "true" CrossSlot single pass drill, built, boxed and shipped from New Zealand to Montana. This unit is 28 openers on 12" (?) spacing. This unit is set up for dry fertilizer. The mainframe, low tool bar design of this drill are the basis for the two US built copies shown above.

Another type of single pass drill. It is 50+ ft wide. It is a hoe type drill. Row spacing is 12"(?). This is farm shop built. Large capacity seed and fertilizer containers. The starter is carried on the tractor. This drill is unique in that it has a swinging hitch that automatically moves side to side depending on the slope of the hill it is traversing to keep the unit pulling straight. Challenging to move on public roads.

Another manufacture of a single pass DS drill. This is a hoe drill on 12" row spacing.


This unit uses a Flexicoil frame and hoe opener.
Subscribe to:
Posts (Atom)